This week I tested a variety of solenoids with my team to determine which worked best for our project.
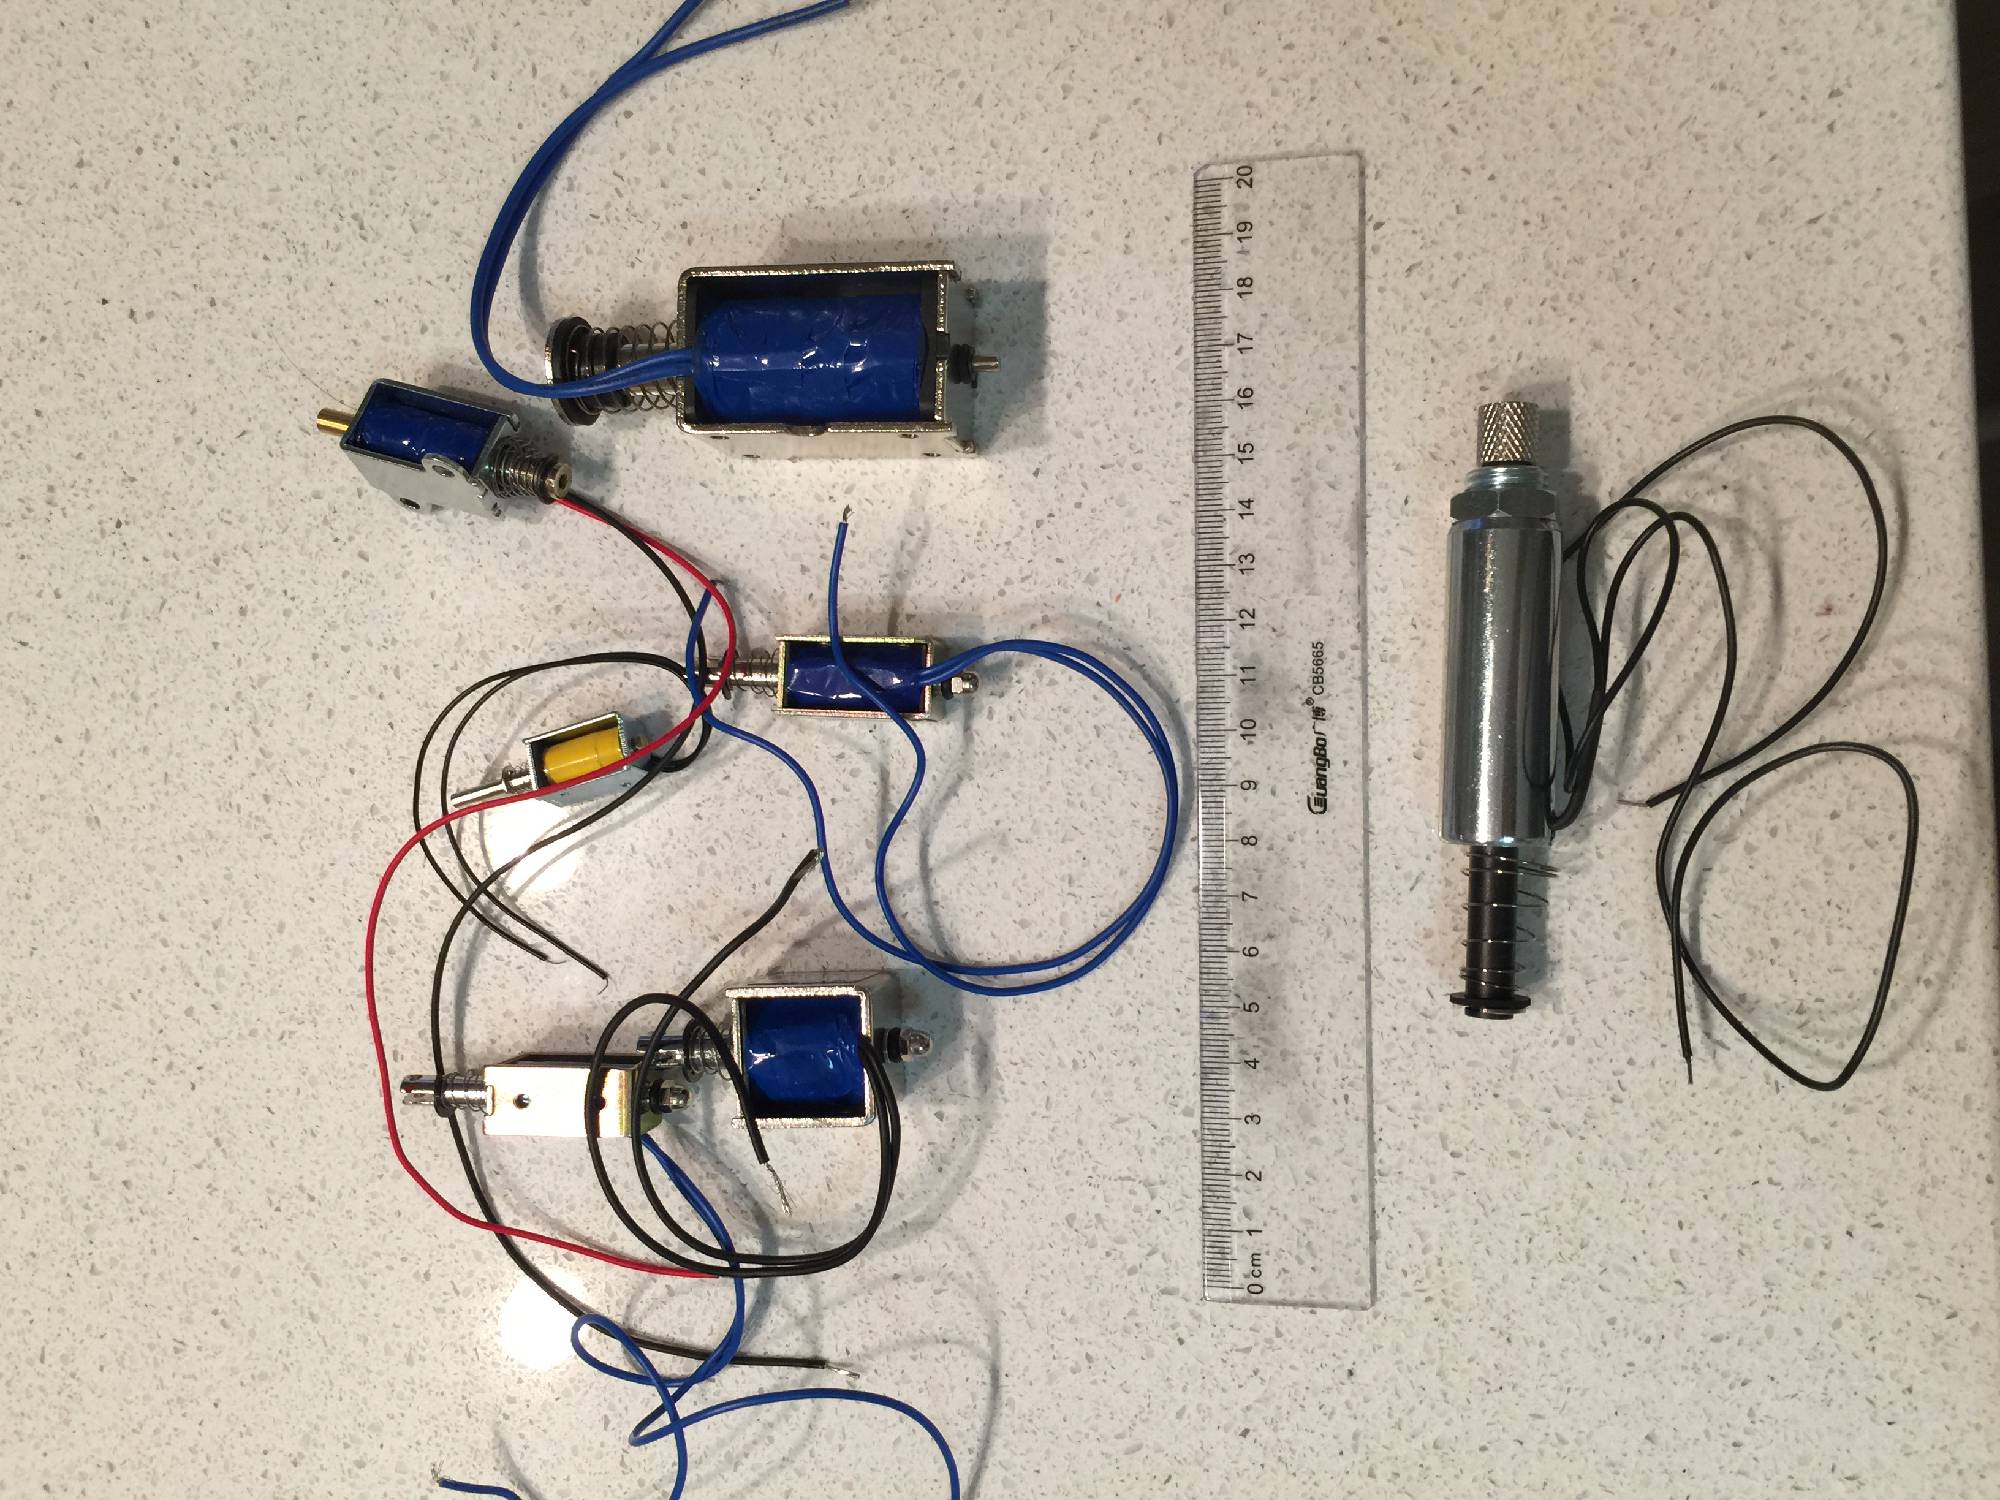
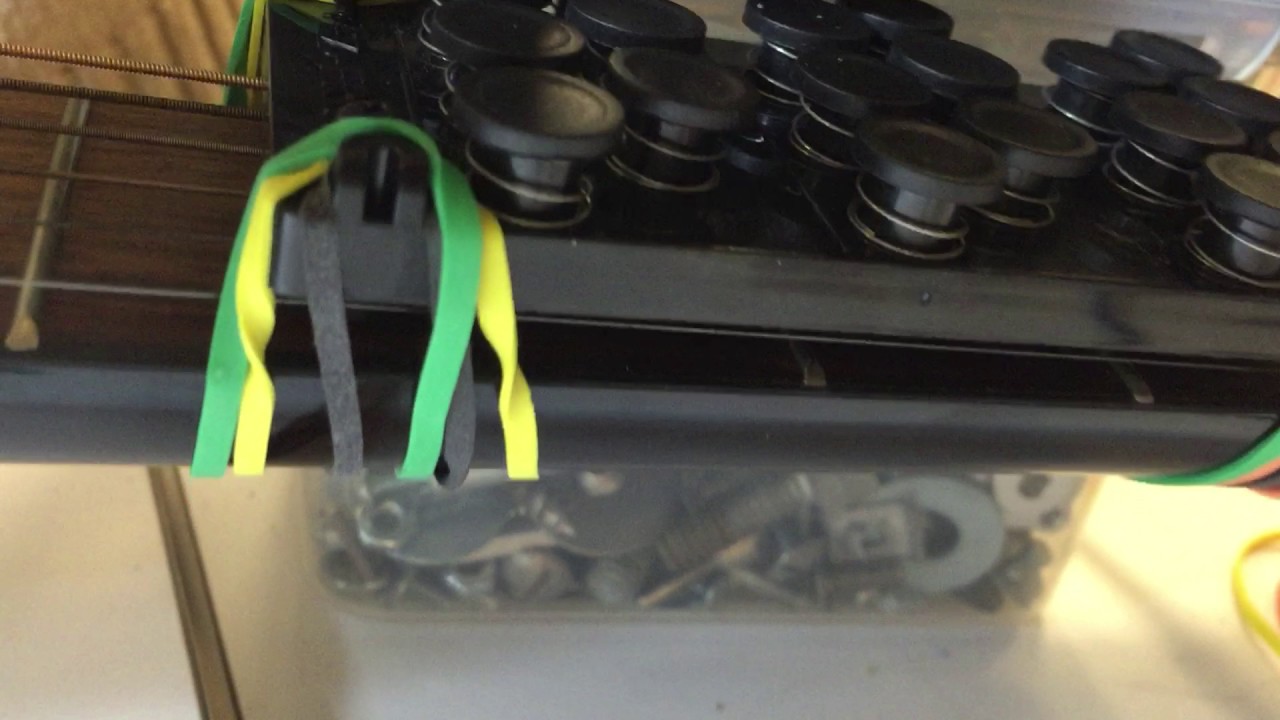
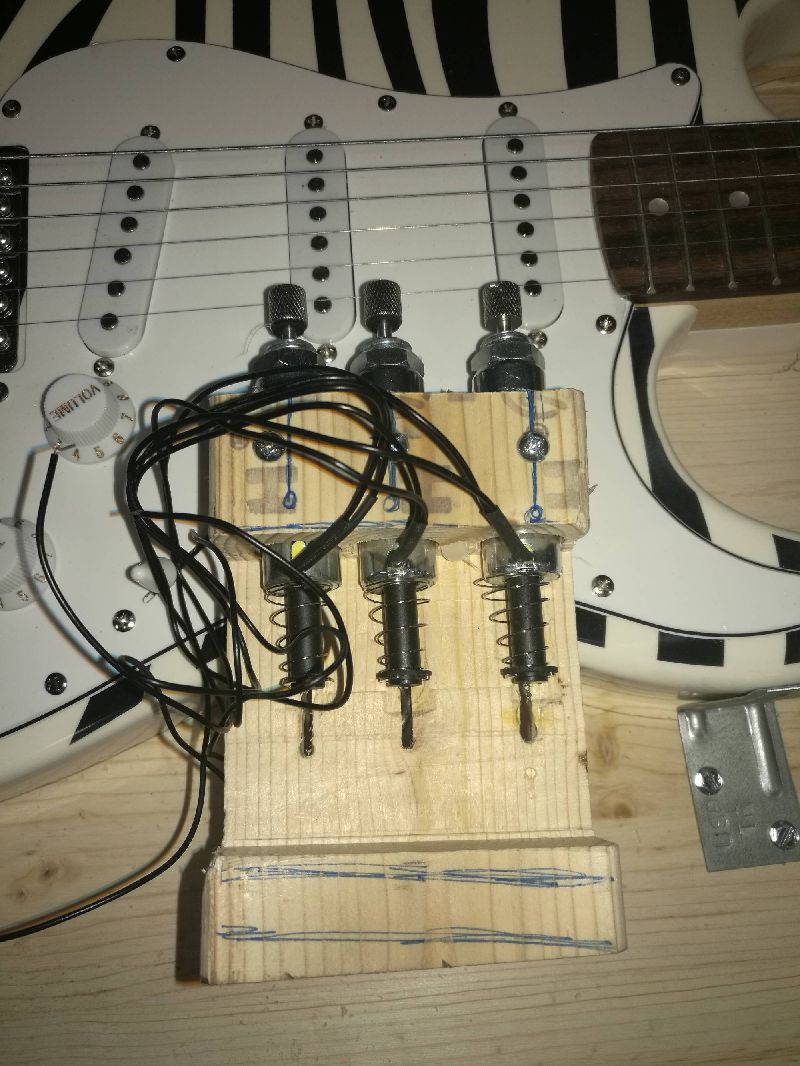
To pass our test, a solenoid had to push down on the first fret of the low E string with enough force so that no buzzing can be heard when the string is plucked and the vibrations of the strings do not move the solenoid plunger. We tested this by clamping the solenoid directly above the string and directly connecting it to a power supply. We tested solenoids that ranged from 12V to 24V.
We found that only one solenoid operating at 24V was closest to our goal, but was still not strong enough. This meant we had to come up with a new design to mechanically increase the force of the solenoid because we did not want to use more powerful solenoids because of the current and voltage levels they require and the amount of heat they can produce, and since we will be using many solenoids, this can be very inefficient and power consuming.
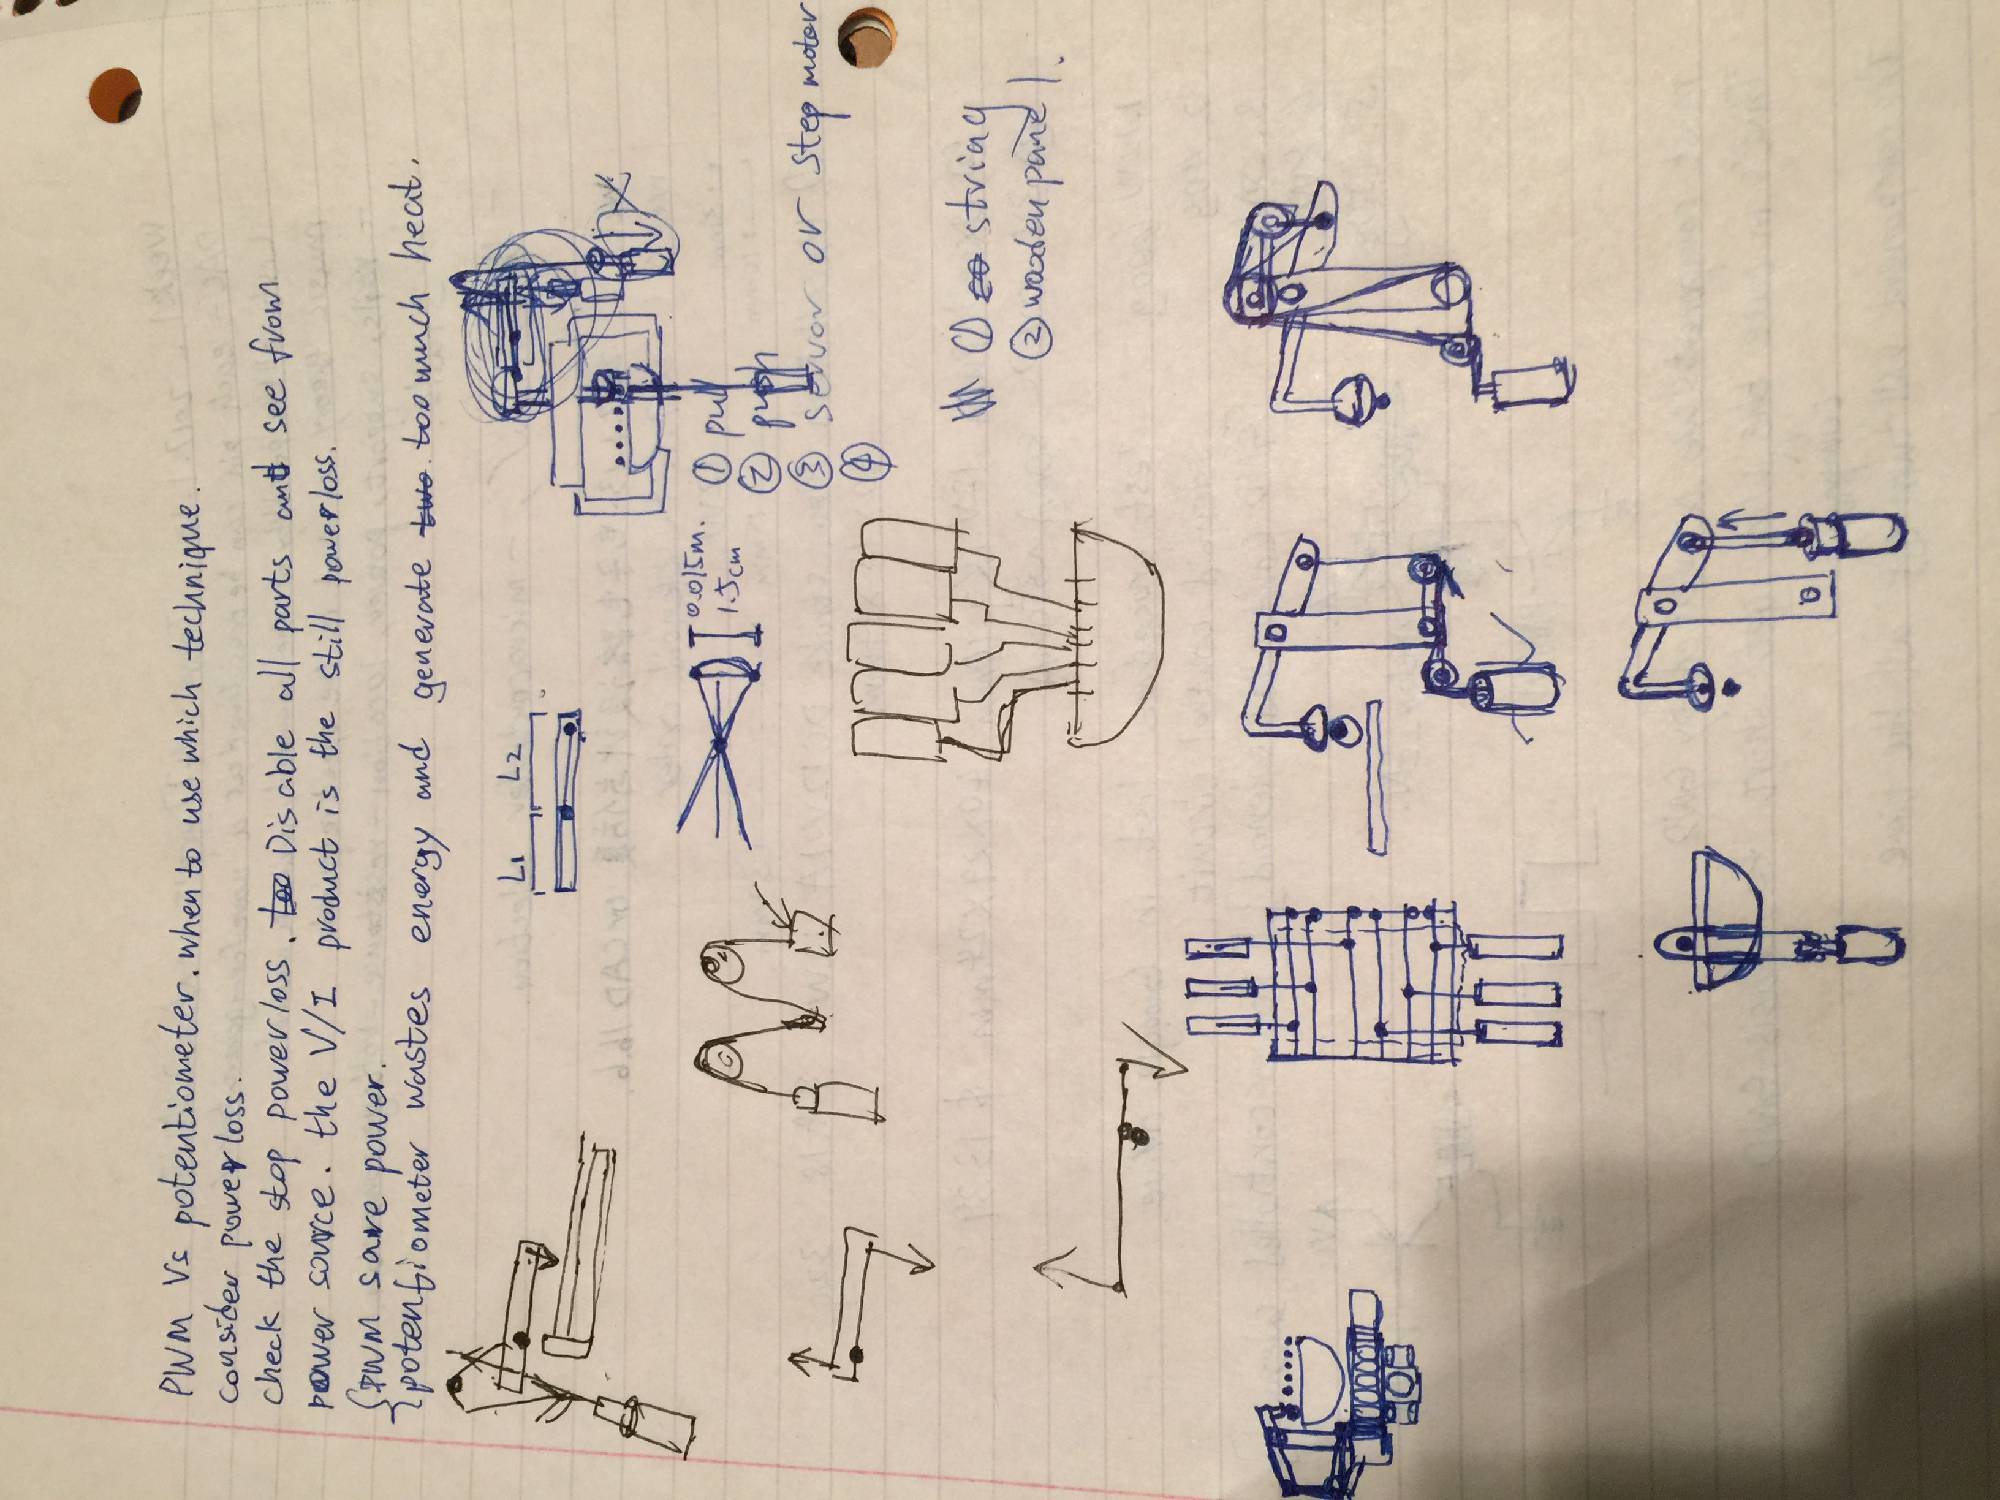
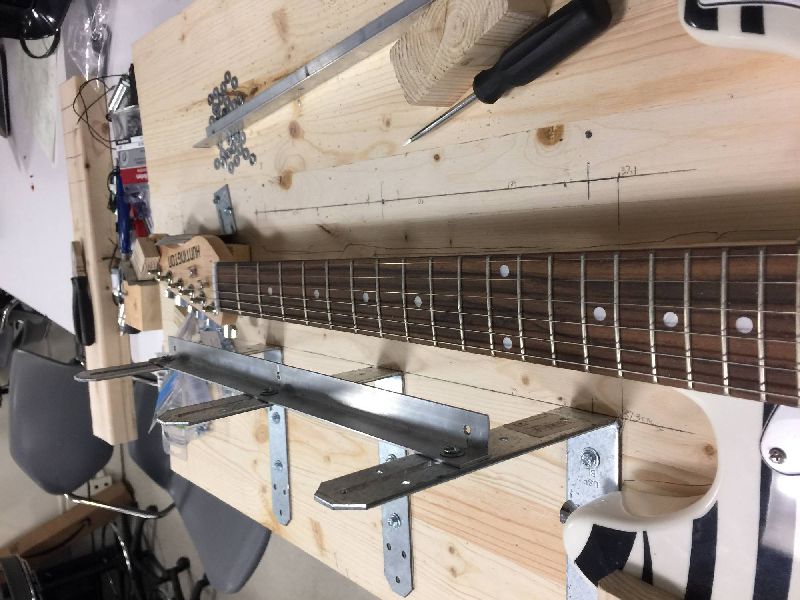
I worked with Wuxiucheng and asked a mechanical engineering friend of mine about techniques to mechanically increase force, and we decided to try out a lever system. We came up with 3 tests that we will work on during the weekend (lever designs: see pictures below). I went with Wuxiucheng to the physics machine shop and we picked up a few parts that we will need to build the apparatus that we will test with. We also ordered another solenoid and a servo motor to test other options.
The “failure” of the solenoids was a good learning point because it made me aware of the fact that things might not go as planned and backup plans are required. Aside from the physical project work, I worked on the functional specification report with my team. Our team had a bit of idea clashes early this week about the design we wanted to implement, but as the team leader I tried to remind everyone that even though we are a team, everyone is in a role that they are happy with and that they would be responsible for presenting the main design of their part. After that we can discuss, as a team, the necessary improvements and criticism.
 Rough Lever Design
 Lever Calculations
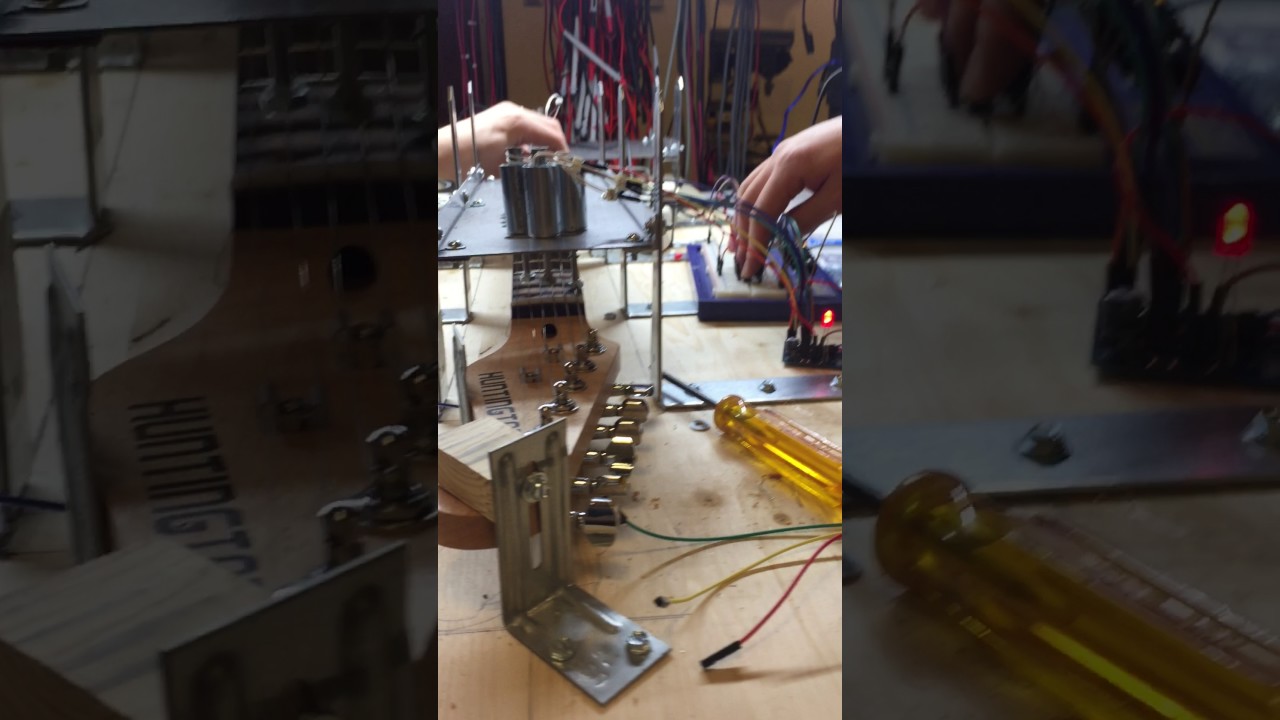
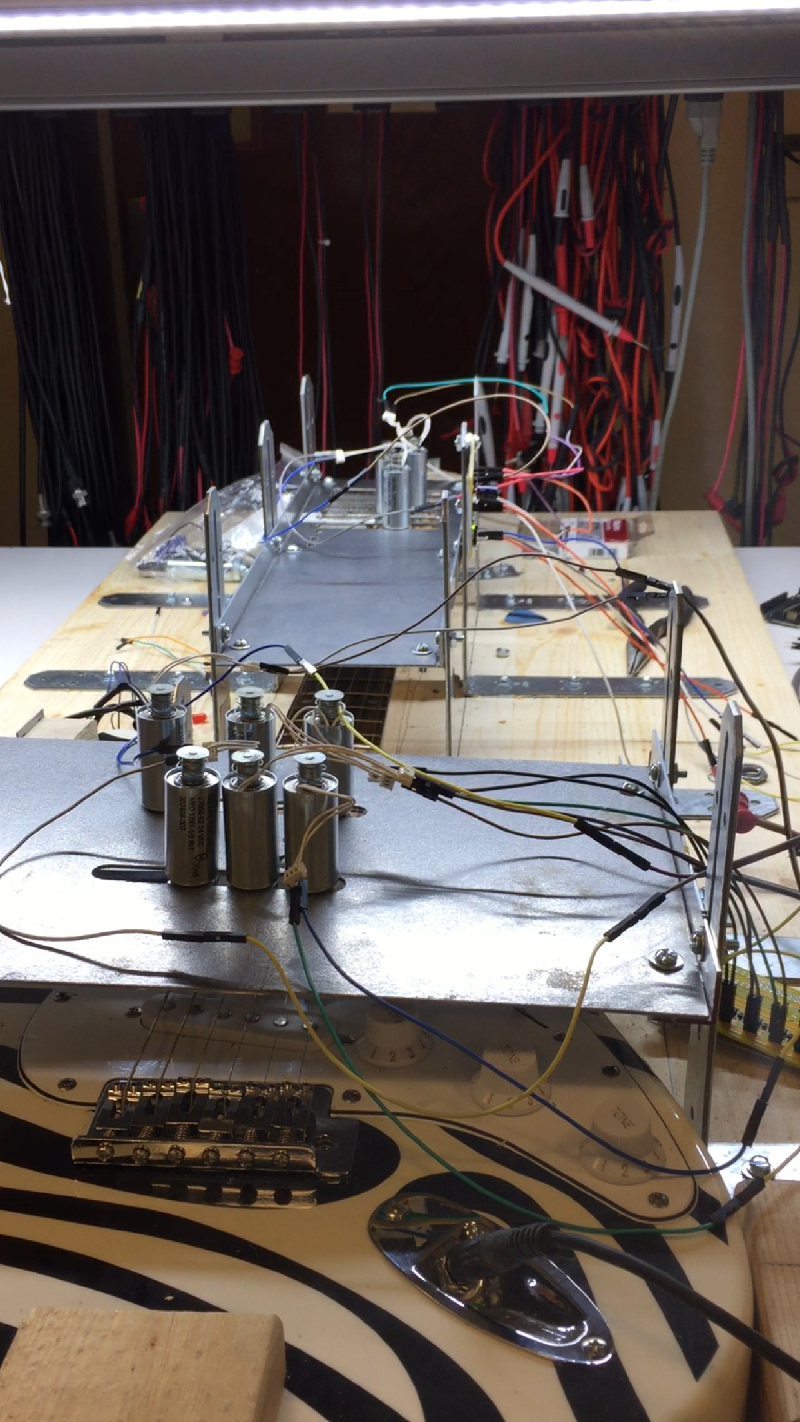
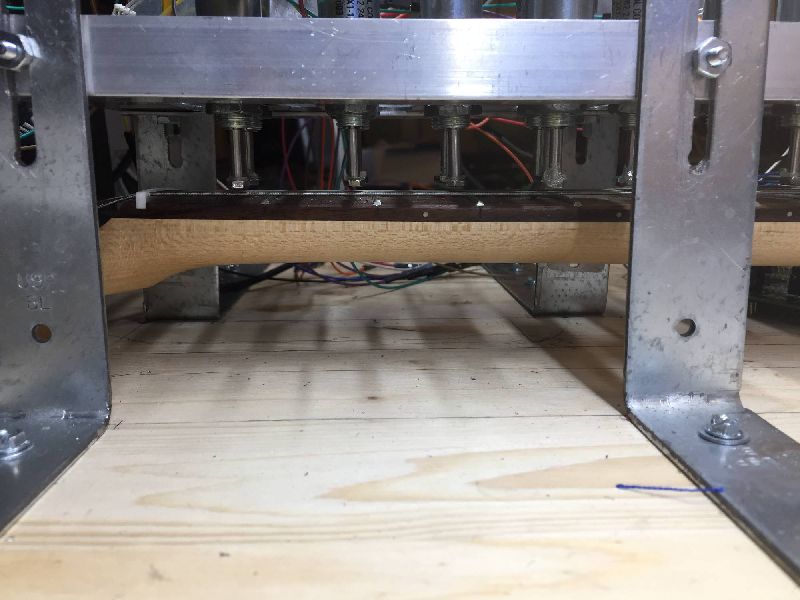
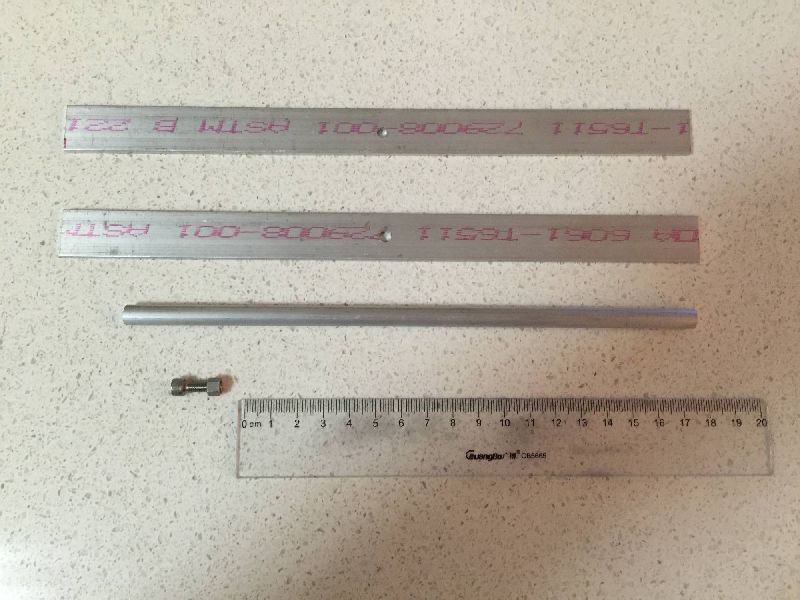 Lever Material
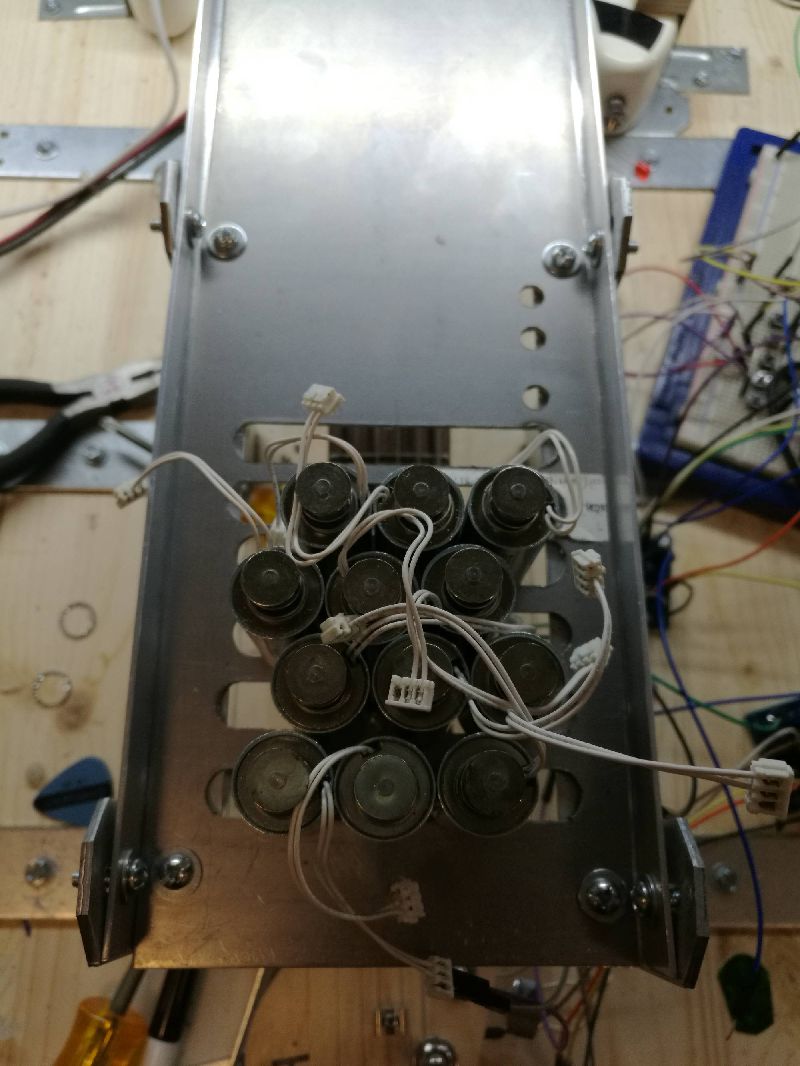
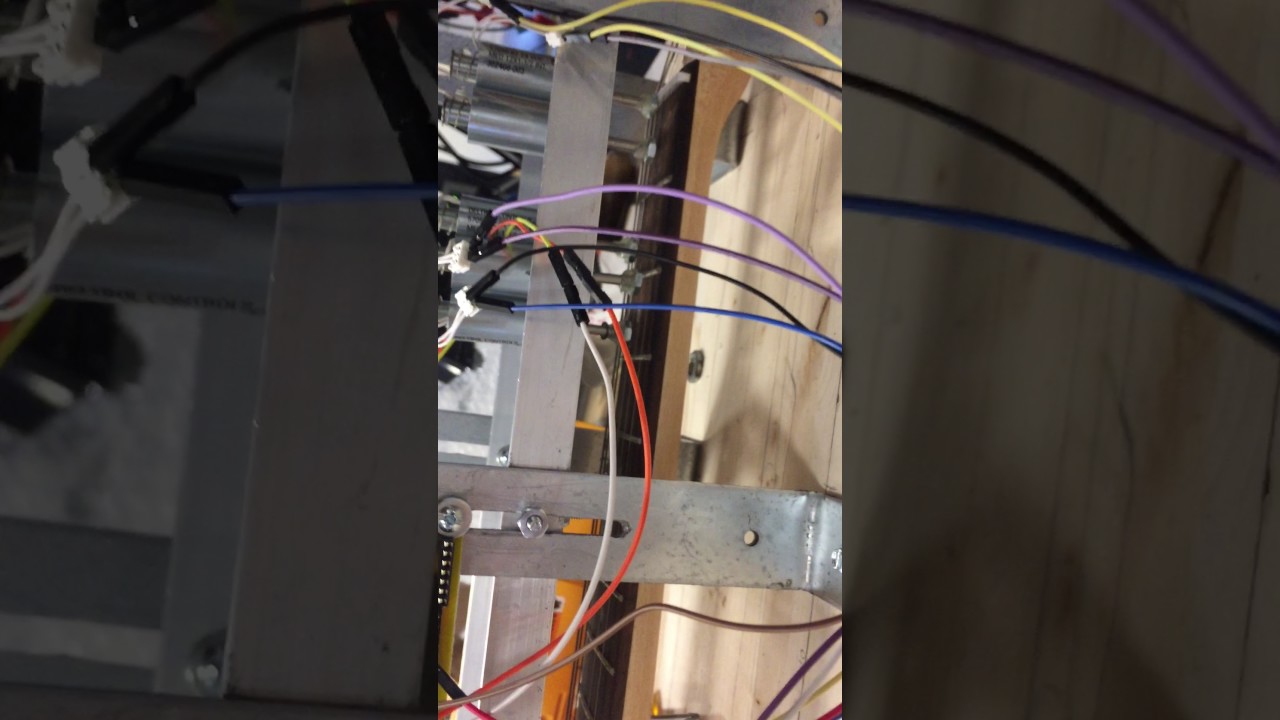
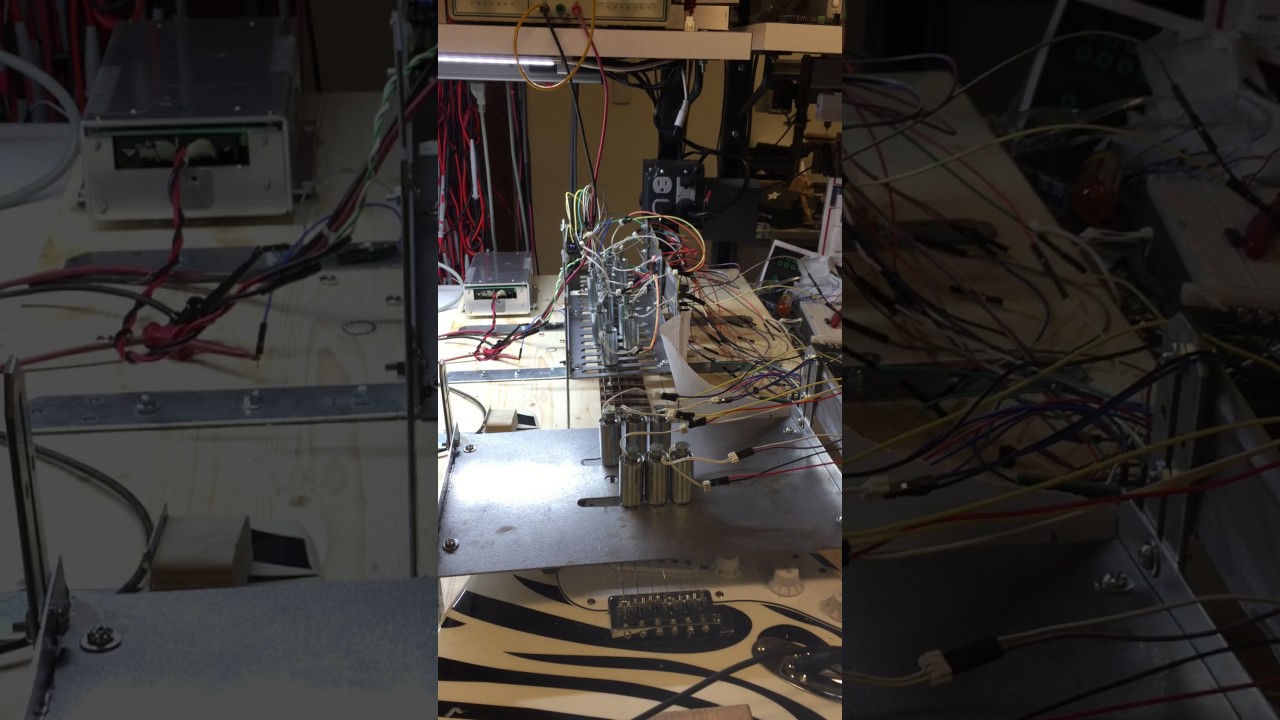
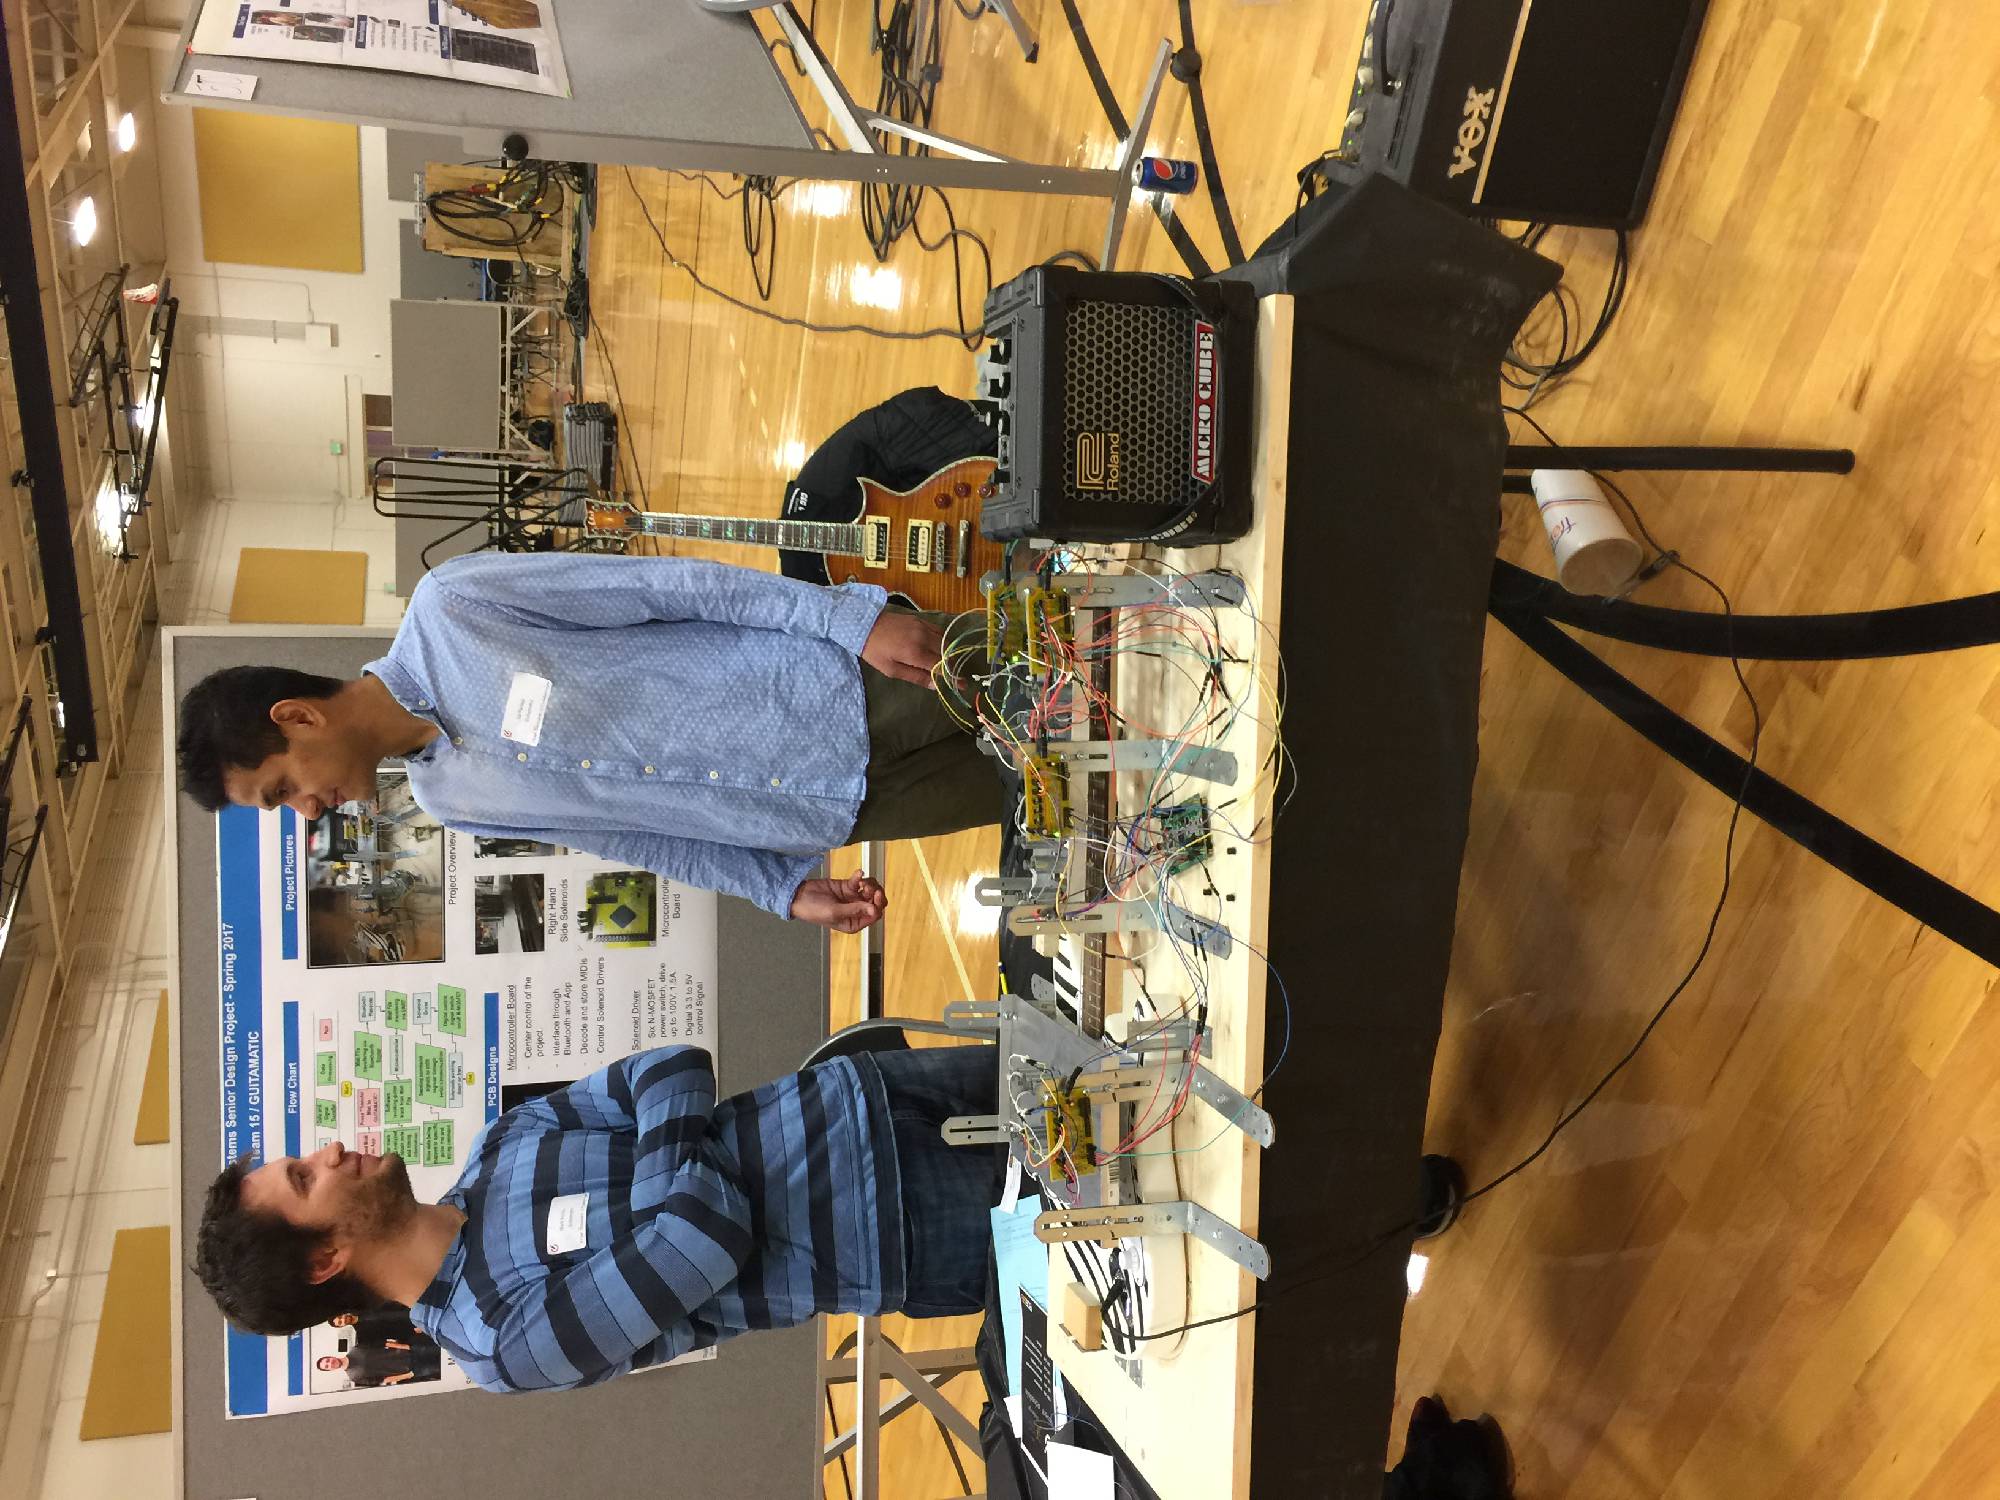
 Solenoids